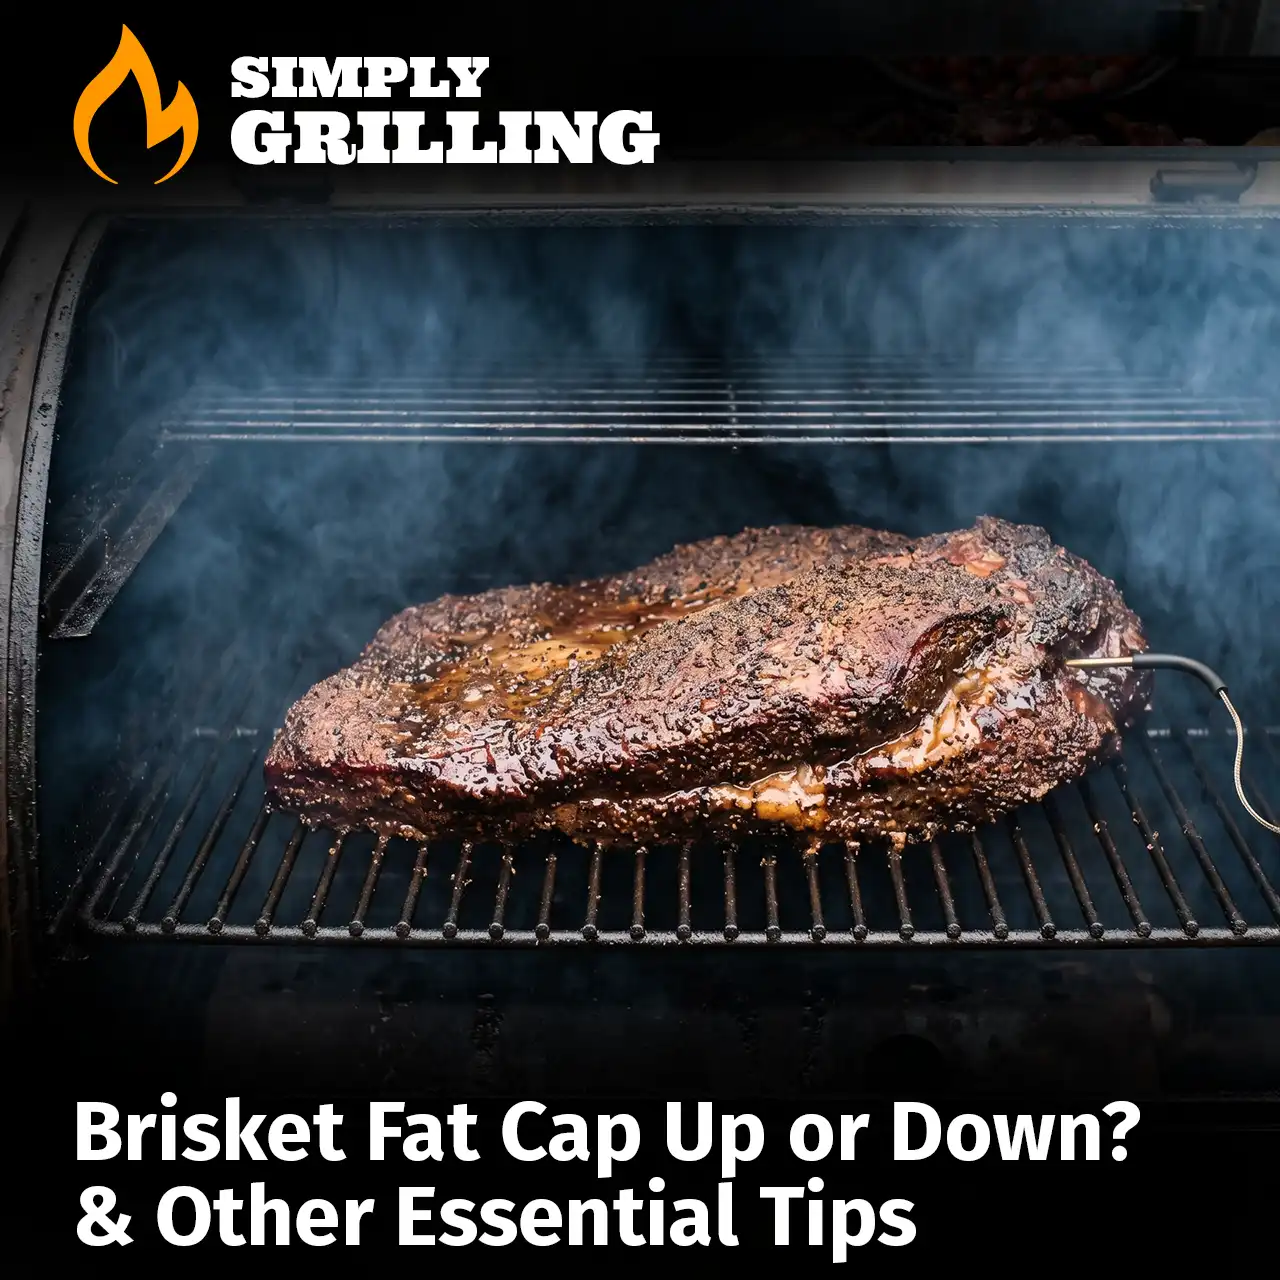
The Pitmaster’s Brisket Masterclass: Settling the Fat Cap Up or Down Debate and Essential Techniques
There is no cut of meat in the world of barbecue that commands as much respect, debate, and obsession as a whole packer brisket. For the backyard cook, it is the ultimate test of patience, heat management, and technique. To master the brisket is to reach a higher level of outdoor cooking authority. This guide cuts through the noise, answers the most pressing questions, and provides an expert roadmap to achieving that elusive, perfect bark and melt-in-your-mouth texture.
1. The Anatomy of a Brisket: Point and Flat
A full-packer brisket consists of two distinct muscles that overlap: the Point and the Flat.
- The Point: The thicker, heavily marbled end with a high ratio of intramuscular fat and connective tissue. This is the source of the coveted ‘burnt ends.’
- The Flat: The larger, leaner section that makes up the bulk of the brisket. This muscle requires the most precise temperature management to avoid drying out, specifically targeting a finished internal range of 203°F to 205°F.
Understanding this anatomy is crucial for every other step in the process, from trimming to slicing.
2. Settling the Debate: Brisket Fat Cap Up or Down?
The central question for many cooks is: should the heavy layer of fat, known as the fat cap, face up towards the sky or down towards the fire? The answer is not absolute; it depends entirely on your cooking technique and equipment.
The Case for Fat Cap Up:
- Rendering and Bark: Many classic techniques prioritize maximum fat rendering over bark development on the cap side. Positioned up, clean blue smoke naturally sweeps over the top, resulting in deep flavor and complex bark.
- Moisture: While fat does not “baste” lean meat (fat and water repel), a rendering fat cap does protect the meat below it. As it liquefies and cooks off, it creates a crucial barrier against direct, harsh convective heat, preserving the internal moisture of the flat muscle.
The Case for Fat Cap Down:
- Protecting the Flat: If you are using a vertical cabinet-style smoker, a drum smoker, or a pellet grill set for maximum heat, the harsh, direct radiant heat often comes from the bottom. Fat cap down provides excellent protection for the delicate flat.
- Bark Development: Positioned down, the cap faces the direct sear. While it renders slightly less efficiently, this technique produces an incredibly firm, crispy bark texture that some pitmasters prefer.
The Simply Grilling Conclusion:
For a standard Offset Smoker, where natural convection moves clean blue smoke across the meat, we recommend FAT CAP UP. This allows your multi-probe wireless receiver to monitor the flat effectively while the point receives maximum exposure. For a Pellet Grill with the heat source directly below the drip tray, we lean towards FAT CAP DOWN to shield the lean flat muscle from direct bottom heat.
3. Professional Tips for Brisket Prep and Smoking
Mastering a brisket isn’t just about fat cap position; it’s about executing a precise, technique-driven workflow.
A. Professional-Grade Trimming
Trimming is arguably the single most important step for ensuring an even cook. Your goal is to create a smooth, aerodynamic shape. Trimming to a uniform quarter-inch of fat ensures that heat and smoke distribute perfectly across the surface, promoting even bark and rendering. Remove any hard fat and silverskin from the meat. A sharp, thin boning knife is essential here for optimal precision.
B. Building the Ultimate Bark
A solid, flavorful bark requires aggressive seasoning. Use high-quality blends like our Original Grillers Cattlemans Cure Beef Rub or Original Grillers The Foundation All Purpose Rub to create a powerful flavor foundation. Once it is on the smoker, don’t peek. Use a reliable Wireless Probes to check technical readings without opening the lid and losing your heat.
C. Achieving the ‘Texas Crutch’
When the internal temperature of the brisket flat plateaus—known as ‘the stall’—it is time for maximum temperature management. Wrap the brisket tightly in high-quality pink butcher paper. This technique is essential for ensuring complex flavor and perfect bark without overcooking the meat. You can use a silicone basting brush to add a little beef tallow during the wrap to manage moisture and flavor.
4. The Final Resting Phase: Faux Cambro vs. Cooler
The brisket is not finished until it has rested. Pull the meat when your wireless receiver displays a final internal temperature of 203°F to 205°F. After this point, immediately transfer the smoked brisket—still wrapped in its pink butcher paper and further swaddled in an old, clean kitchen towel—into an insulated cooler.
Using a high-quality cooler to maintain temperature effectively creates a “faux cambro.” This crucial, long rest allows internal temperatures to slowly stabilize and the juices to redistribute effectively throughout the meat fibers. Keep your temperature probes in during the rest to ensure it stays in the safe zone before slicing.