Fire · Smoke · Flavor New recipes every week!

Search Simply Grilling

Popular searches: Brisket, Ribs, Smoker, Grilling Tips

CHICKEN 15 MINUTES + 10-12 MINUTES TOTAL

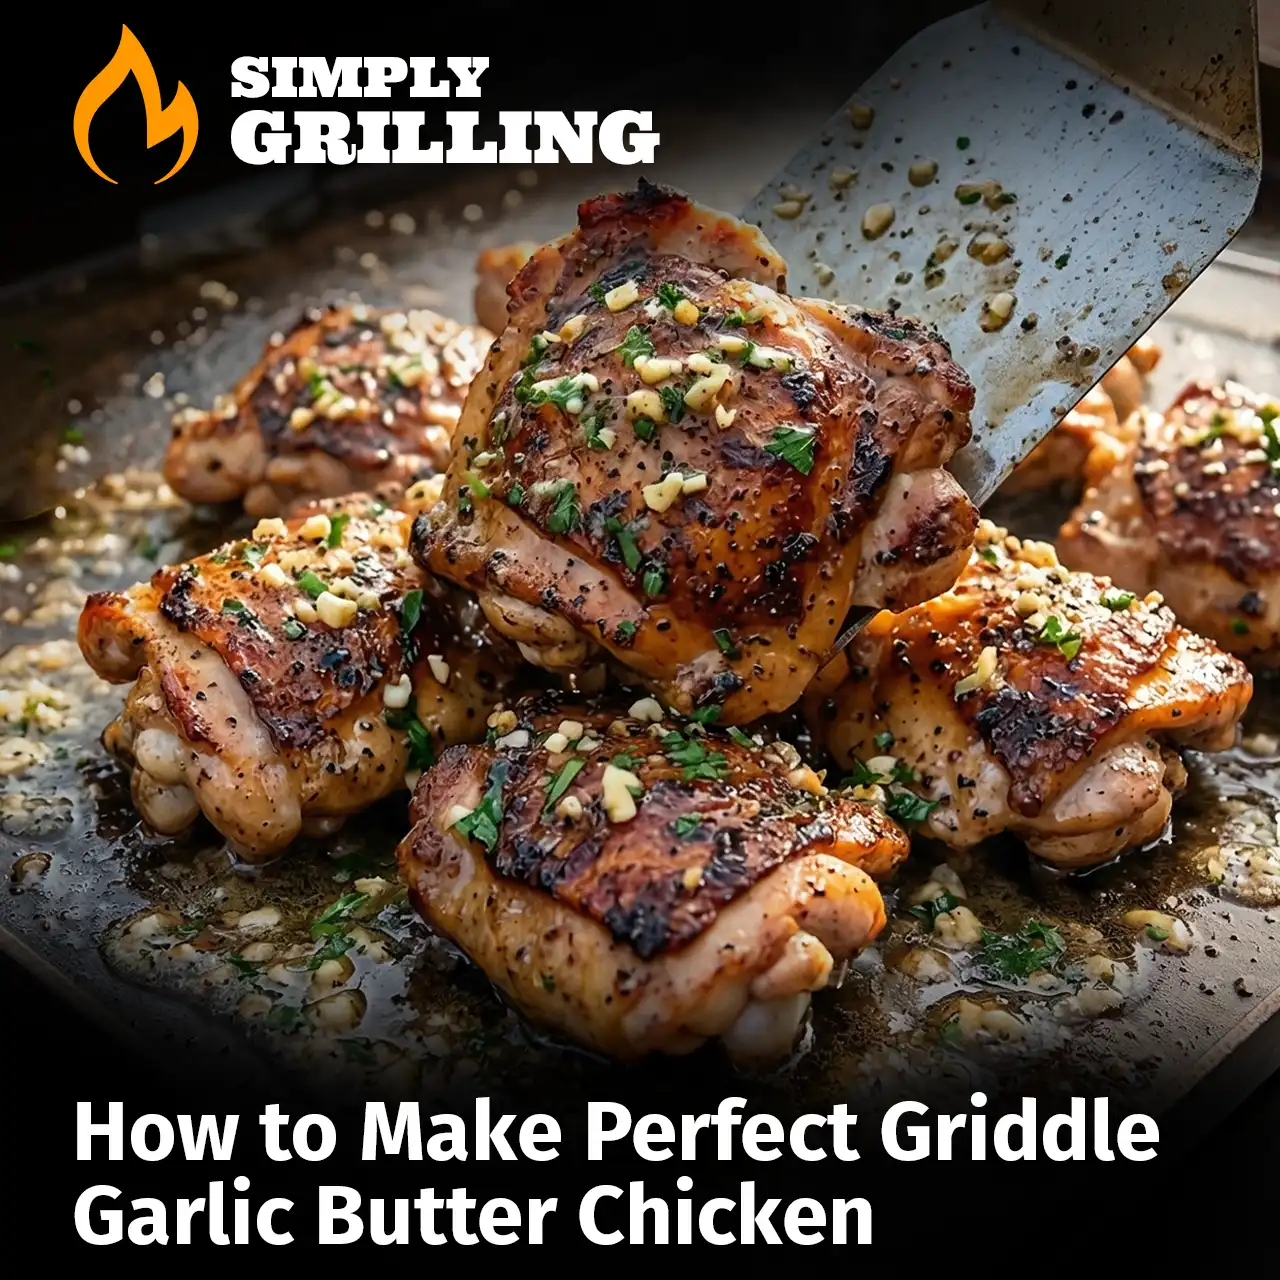
How to Make Perfect Griddle Garlic Butter Chicken

Command the heat. Discover the two-zone technique for griddle garlic butter chicken that builds an incredible Maillard crust without burning the garlic.

Prep
15 minutes
Cook
10-12 minutes
Serves
4

Here is an uncompromising guide to creating exceptional Griddle Garlic Butter Chicken. Flat top griddle cooking demands high heat, quick execution, and the right tools. When you drop chicken on that surface, you are looking for a massive Maillard reaction crust without drying out the interior.

This Griddle Garlic Butter Chicken recipe uses a technique where we sear the chicken dry to build the crust, then finish it in a rich garlic butter bath right on the steel.


Required Tools for the Griddle

To execute Griddle Garlic Butter Chicken properly, you need tools that won’t flex, melt, or fail under pressure. Flat top cooking is fast and chaotic. Do not show up to a gunfight with a plastic spatula.

1. The Spatula: Pit Boss Ultimate Griddle Kit

You need a stiff edge to get under the crust without tearing it. Flimsy spatulas will ruin your sear. This kit comes with heavy-duty nylon polymer spatulas that provide excellent control and won’t flex when you are flipping pounds of meat.

Check Price on Amazon

2. The Thermometer: ThermoWorks Thermapen ONE

Guessing ruins chicken. The ThermoWorks Thermapen ONE is incredibly fast, hyper-accurate, and completely waterproof, making it the perfect data tool for chaotic griddle cooking. Know your data. Defend your juices.

Check Price on Amazon

3. The Scraper: Weber Griddle Scraper

The garlic butter will leave a sticky residue. You must clean your steel immediately while it’s hot. This scraper has a no-slip grip and a wide, heavy-duty blade to make quick work of the cleanup so your surface is ready for the next cook.

Check Price on Amazon

Home Icon Ingredients

Home Icon Directions

Prep the Meat

1
Trim any massive excess fat from the thighs, but leave some for flavor. Pat them completely dry with a paper towel. Moisture is the enemy of a good sear. Coat them heavily with The Foundation rub on all sides.

Command the Heat

2
Fire up your flat top griddle (whether it's a dedicated unit or a Weber insert). You want a two-zone setup: one side ripping hot (around 400°F) for searing, and one side medium-low (around 300°F) for the butter bath.

The Sear

3
Lay down a thin bead of high-smoke-point oil on the hot zone. Drop the chicken thighs down. Do not touch them for 4-5 minutes. Let the steel do its job and build that crust.
⏱ 4-5 mins 🔥 400°F

The Flip & Temp

4
Flip the thighs. They should have a deep, dark, structured crust. Use an instant-read thermometer to check the core. You are looking to hit around 160°F before moving to the next step.
🔥 400°F 🌡 160°F

The Garlic Butter Bath

5
Slide the chicken over to the cooler side of the griddle. Drop the butter directly onto the steel right next to the chicken. As it rapidly melts, toss the minced garlic into the bubbling butter for just 30 seconds until fragrant.
🔥 300°F

The Toss

6
Immediately toss the chicken through the garlic butter, coating every piece. Squeeze the lemon juice over the top to cut the richness, and hit it with the fresh parsley. Pull the chicken off the griddle immediately.

The Rest

7
Let the chicken rest on a board for 5 minutes before slicing.
⏱ 5 mins

Join the pit crew

Weekly recipe drops and gear deals. No spam, just smoke.