Everyone Needs To Know How to Grill a Steak
(Without Disrespecting the Cow, Your Guests, or Yourself)
We’ve all been there. You drop a terrifying amount of money on a beautiful, marbled piece of beef. You invite your friends over. You fire up the grill with the confidence of a medieval blacksmith. And then, twenty minutes later, you serve them a grey, tough piece of leather that requires a chainsaw to navigate.
Grilling a steak isn’t quantum physics, but it does demand respect. If you are ready to stop guessing and start grilling like someone who actually knows what they are doing, pay attention. Here is the uncompromising, fool-proof guide to grilling a steak.
Phase 1: The Acquisition
Before you even look at your grill, you need the right meat. Do not buy a steak thinner than an inch. Thin steaks cook so fast that by the time you get a good crust on the outside, the inside is well-done (which is a crime we will discuss later).
The Rule: Aim for 1.5 to 2 inches thick. Ribeyes, New York Strips, and Porterhouses are your best friends here. Look for white flecks of fat running through the meat (marbling). Fat is flavor. Lean meat is for salads.
Phase 2: The Dry Brine (Non-Negotiable)
Step away from the bottled marinades. A good steak needs exactly two things before it hits the fire: salt and time.
- Generously salt your steak on all sides with Kosher salt. If you think it’s too much, add a pinch more.
- Put it on a wire rack set inside a baking sheet.
- Leave it uncovered in the fridge for at least 4 hours, or ideally overnight.
Phase 3: The Two-Zone Fire
If you turn every burner on your gas grill to “HIGH” or spread your charcoal evenly across the bottom, you are building a crematorium, not a grill. You need a Two-Zone Fire.
Set up one side of your grill to be blistering hot (the searing zone), and the other side to have no direct heat underneath it (the safety zone). If the flames flare up and threaten to consume your precious meat, you simply slide the steak over to the cool side. You are the master of the elements. Act like it.
Phase 4: The Cook (Stop Poking It)
Let’s utilize the Reverse Sear method. It is foolproof.
- Low and Slow: Place your thick steak on the cool side of the grill. Close the lid. Let it gently warm up.
- The Thermometer is God: If you check doneness by poking the meat with your finger and comparing it to the palm of your hand, I assume you also use astrology to do your taxes. Buy a digital instant-read thermometer. Pull the steak off the cool side when the internal temperature hits exactly 115°F (for medium-rare).
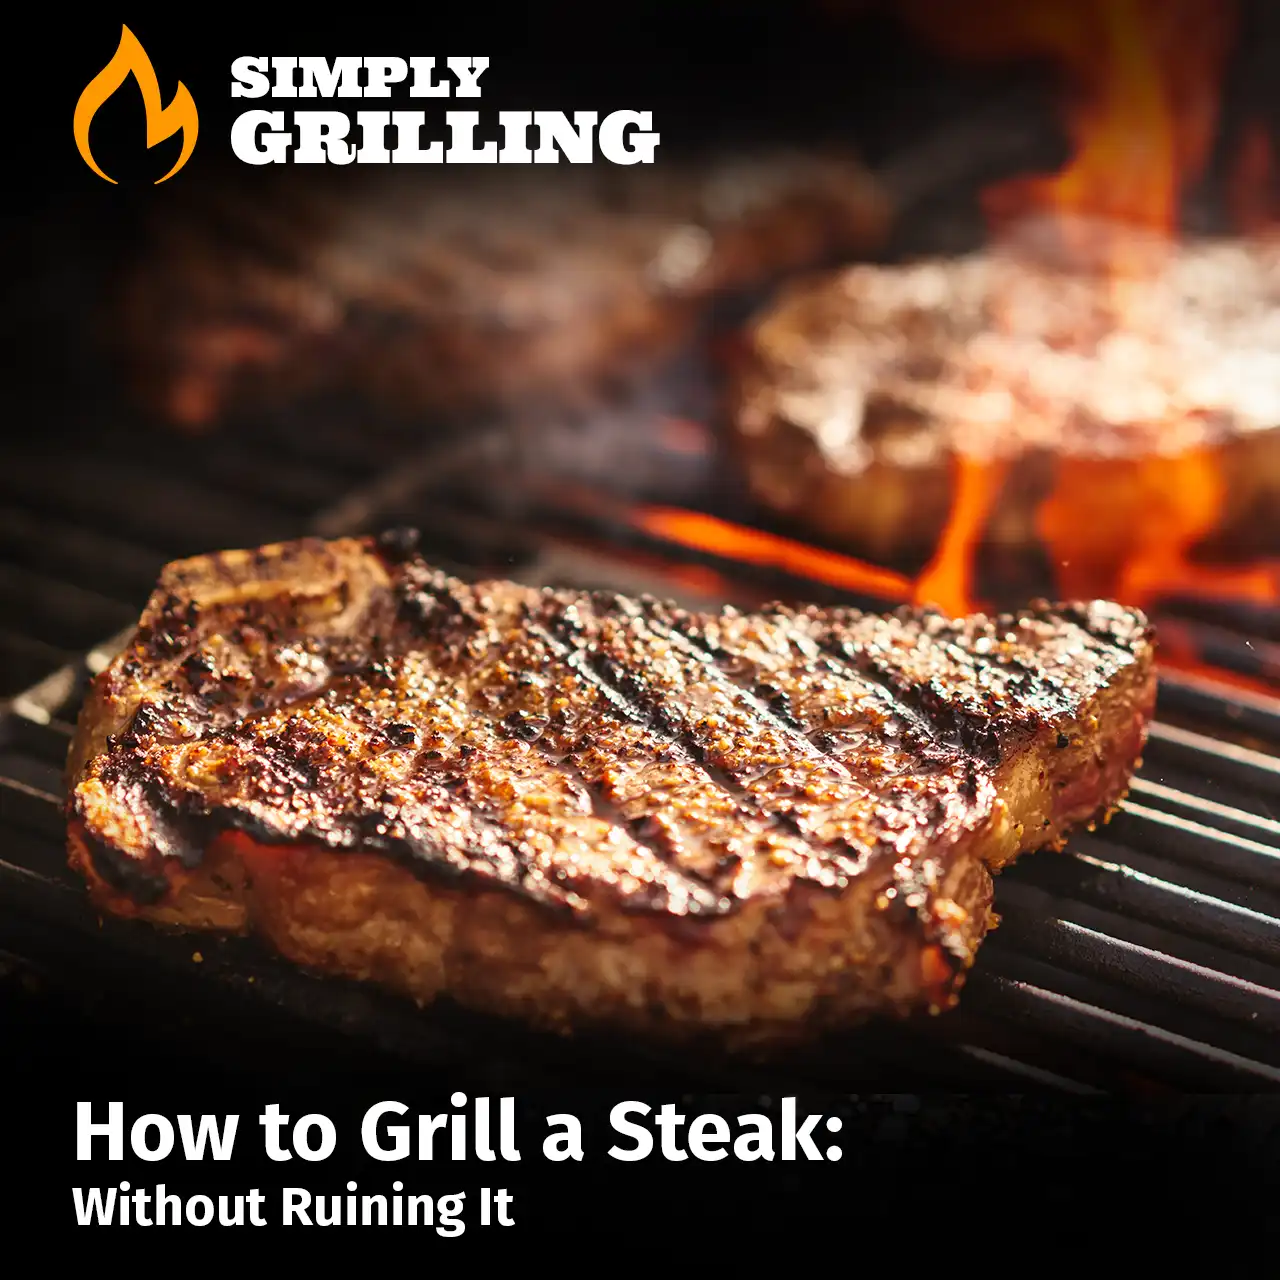
- The Sear: Take the steak off. Get the hot side of your grill as hot as humanly possible. Put the steak over the flames for about 60-90 seconds per side. You want a charred, crusty exterior (the Maillard reaction).
Phase 5: The Rest
You did it. It looks beautiful. It smells incredible. Now don’t touch it.
If you slice into that steak right off the grill, all the juices will violently flood out onto your cutting board, leaving you with dry meat and a messy counter. Let the steak rest on a board for 10 minutes. The muscle fibers will relax, and the juices will redistribute. Go have a beverage. Tell your guests about your grilling prowess. Just wait.
The Final Verdict
Slice it against the grain, serve it with pride, and politely ask anyone who requests steak sauce to leave your property. You’ve earned this.